


Casa Blui Blog
A Complete Guide to Installing Your Stainless Steel Hot Tub
By Aditya Rao
A stainless steel hot tub is a centerpiece for luxury and relaxation. To ensure years of safe and flawless operation, proper site preparation is the most critical step. This comprehensive guide covers every essential aspect of the installation process, from building a solid foundation to connecting the final wires and pipes.
Section 1: Foundation and Support: Handling the Weight
The first and most important consideration is the immense weight of the spa, especially when filled with water and occupied by guests.
Understanding the Weight: Dry vs. Wet
You must plan for the spa's maximum possible weight. For example, a high-quality stainless steel spa can have a:
- Dry Weight: Approximately 480 kg / 1,058 lbs. This is the weight of the unit as delivered.
- Wet Weight: Approximately 2,646 kg / 6,570 lbs. This is the crucial figure, accounting for the spa filled with water. This does not even include the weight of the occupants.
Preparing a Concrete Slab Foundation
Due to the significant weight, the ideal foundation is a dedicated, perfectly level concrete slab. The technical requirements are specific:
- Thickness: The concrete slab must be a minimum of 10 cm (about 4 inches) thick.
- Reinforcement: It should be reinforced with rebar to prevent cracking under the load.
- Curing: Allow the concrete to fully cure before the spa is delivered and positioned.
- Level Surface: The slab must be perfectly level. An unlevel surface can cause structural stress on the spa's frame and shell, potentially voiding the warranty.
Can a Stainless Steel Spa Be Installed on a Deck?
This is a common question, but one that requires extreme caution. A typical residential deck is not designed to support over 6,500 lbs concentrated in an 8x8 foot area. If you are considering a deck installation, it is absolutely essential to hire a qualified structural engineer to assess and, if necessary, reinforce the structure to safely handle the spa's maximum wet weight plus occupants.
Section 2: Space and Clearance Requirements
Planning the spa's final position requires thinking about future access for maintenance and safety regulations.
- Maintenance Access: The side of the spa that houses the control system, pumps, and heater must always be accessible. Do not build this side flush against a wall.
- Safety Clearance: To comply with electrical safety standards, a minimum clearance of 60 cm (about 24 inches) must be maintained around the entire perimeter of the spa. This space prevents any electrical installations (outlets, switches) from being too close to the water.
Section 3: Electrical System Preparation
All electrical work must be performed by a qualified and licensed electrician in compliance with local codes. A hot tub's electrical connection is permanent and dedicated.
- Voltage and Amperage: A standard setup for a model like the Ember spa is a dedicated 220V, 10A single-phase circuit.
- Permanent Connection: The spa must be hardwired directly to the power supply. It is not a plug-in appliance. The power cable should be run through a protected underground conduit for outdoor installations.
-
Safety Switches: The circuit must be protected by two key devices:
- An omnipolar switch with a contact opening of at least 3mm.
- A high-sensitivity RCD (Residual Current Device), or GFCI in North America, with a maximum rating of 30mA. This is critical for preventing electrical shock.
- Sheltered Components: All electrical connections and junction boxes must be housed in a location that is sheltered from water and atmospheric agents.
Section 4: Plumbing and Drainage
Proper plumbing ensures your spa fills correctly and can be drained easily for cleaning and maintenance.
Water Supply
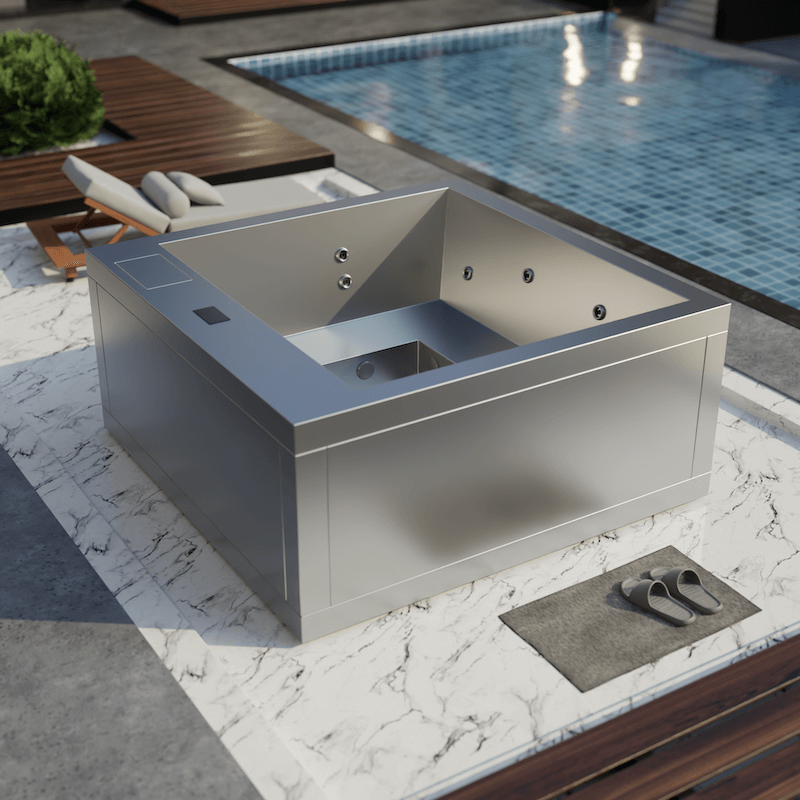
A dedicated cold water connection is required. This is typically a 1/2-inch line that should be used exclusively for the spa. Do not connect other appliances to the same line. Using mains water is strongly recommended over well water to avoid introducing minerals and metals that can harm the spa's components. Premium models like the Stainless Steel Spa Ember are designed with straightforward connection points to simplify this process.
Drainage
For any installation, but especially for those indoors, a floor drain is highly recommended. A 40mm (1.5 inch) floor drain should be positioned in the installation area to manage any potential overflows or to handle water during the draining process.
Section 5: Optional Connections
Connecting an External Heat Exchanger
For users who wish to use an alternative heating source, such as a home boiler or solar system, an external heat exchanger can be connected to the spa's plumbing. This requires specific preparation:
- Dedicated Plumbing: The system requires an inlet and outlet connection, typically using 1.5-inch pipelines.
- Separate Circulator: A dedicated circulator pump (not supplied with the spa) must be installed as part of the external heating loop to move water between the heat exchanger and the spa.
Conclusion: While the installation process for a stainless steel hot tub is detailed, following these steps meticulously is the best way to guarantee safety, performance, and longevity. Always consult with and hire qualified professionals, including a structural engineer, electrician, and plumber, to ensure every aspect of the installation is done right.


